In this Microsoft Dynamics 365 training, you’ll learn how to efficiently manage service cases.
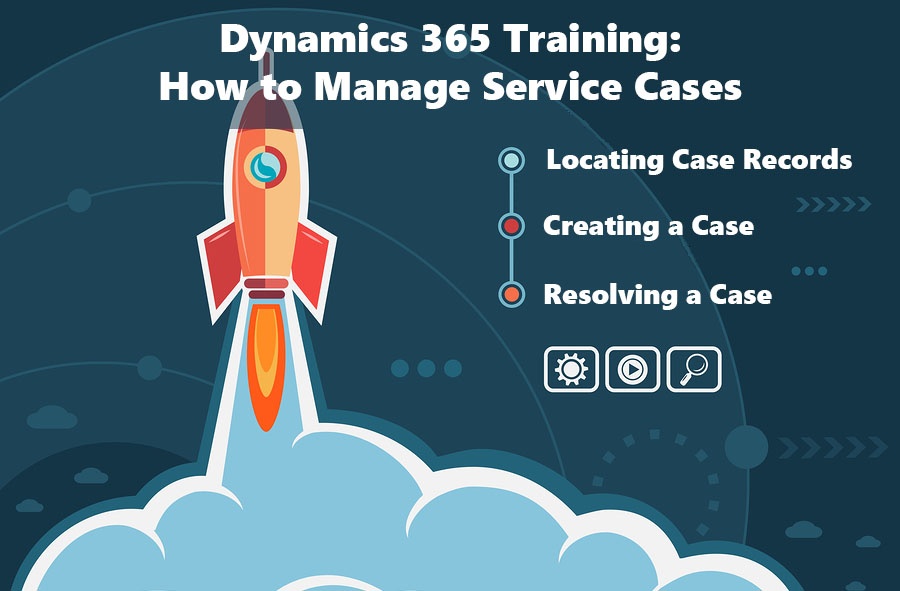
Locating Case Records
To navigate to the Service work area, where you’ll find a grid view that lists cases, click the main menu and then Service > Cases. The first thing that you’ll see is a list of active cases. Each record shows the source of the case, as well as its priority and the time frame for a resolution to occur. Also available is information regarding other cases associated with the customer and the level of service to which he or she is entitled.
Creating a Case
To create a case in Dynamics 365, click New Case, and then see if you can find the customer’s name in the system. If they’re not in the system, then click New to create a new record. When the customer explains an issue, you can check to make sure there isn’t already an open case for them. If there’s no existing case, enter the case title, and then use the Activities area to add any phone call details, tasks, or notes related to the case. That way, the communication history with the customer is stored in one place where everyone can find it.
Resolving a Case
To help with the Dynamics 365 case, you can search for similar cases and use the information to help you resolve the case that you’re working on. Suppose that you need to reassign or escalate the case instead. Just click the menu and assign the case to another agent. Alternatively, you can put it back into the queue and have someone else pick it up. When you’ve handled a customer’s issue, click Resolve Case, and fill in the required information.
Feel free to contact us if you would like more detailed Dynamics 365 implementations and processes. We have extensive experience with the Microsoft Dynamics product line and are eager to help you get the most out of your particular Dynamics 365 implementation.