Inside this Article
Setting Up & Using Posting Groups in Microsoft Dynamics 365 Business Central
Posting groups allow you to easily manage and navigate general ledger accounts, saving time and improving accuracy when inputting transactions.Here are 3 simple steps to get your started:
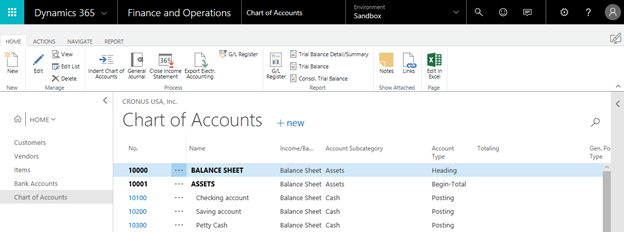
1. Set up your Chart of Accounts
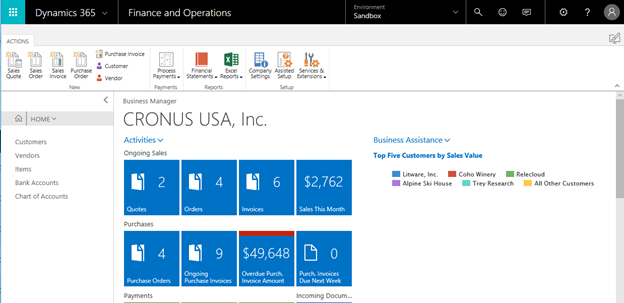
Microsoft Dynamics 365 Business Central comes with a standard chart of accounts, which essentially store and show your ledger accounts.
- To customize your G/L accounts you open each and either add a new one or change the settings of the current open one.
- Of course, you can also delete a G/L but you need to ensure that: the balance is zero, there are not entries, the account is not used in any posting groups, and the G/L Acc. Deletion Before has been allowed in field has been checked in General Ledger setup.
2. Create your Posting Groups
These consist of three different categories: General, Specific, and Tax. They are broken down as follows:
a. General
General Business Posting Groups
- Select the Business Posting Groups window to define buyers and sellers (this is typically done by industry of geographical location)
General Product Posting Groups
- Select the Product Posting Groups window to define products bought and sold (this is typically done by item type or industry)
General Posting Setup
- Select the Posting Setup window to combine groups of businesses and products and thus relevant G/L accounts.
b. Specific
Customer Posting Groups
- Select the Customer Posting Groups window to define the Business and Product Posting Groups you utilize when posting receivables.
Vendor Posting Groups
- Select the Vendor Posting Groups window to define the Business and Product Posting Groups you utilize when posting payables, service charges, or payment discounts.
Inventory Posting Groups
- Select the Inventory Posting Groups window to define balance sheet inventory accounts and separate items by group.
Bank Account Posting Groups
- Select the Bank Account Posting Groups window to define accounts for bank accounts so you can follow transactions.
Fixed Assets Posting Groups
- Select the FA Posting Groups window to define accounts for each type of cost or expense.
c. Tax
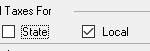
Tax Business Posting Groups
- Select the Tax Business Posting Groups window to calculate sales tax for buyers and sellers based on each one’s geographical location and local regulations.
Tax Product Posting Groups
- Select the Tax Product Posting Groups window to calculate sales tax for the products you buy and sell.
Tax Posting Setup
- Select the Tax Posting Setup window to combine groups of businesses and products and thus relevant accounts.
3) Generate documents and reports
By linking the posting groups created, you can generate a variety of subsequent documents and reports, including income statements and balance sheets. Check back for more features and how to use them in our blog series Microsoft Dynamics 365 Business Central Presents…